
Unique Genealogy Web Templates
Below are instructions for installing or updating your new TNG v15 template from Genealogy Web Templates.
After you purchase the template, do not unzip the file. Installation is easy.
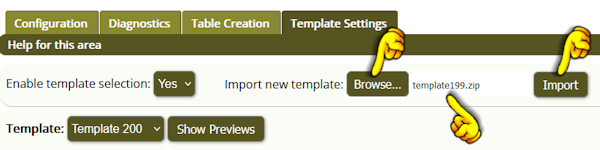
1. In TNG, navigate to the "Template Settings" page.
2. Click on "Browse"
3. A pop-up box will appear. You will navigate to the template you downloaded from GWT.
4. Click on "Import"
5. You will get a message that "Your tempate variables have been
imported. Go Back."
No other template version zip file will
work. You must use a v15 template with the v15 TNG program.
If you get a message that your template variables were not installed, the problem may be that the file can't be unzipped. The code is asking if the PHP class "ZipArchive" exists, and the answer is coming back "no", so the extraction never happens. That's why the msgs file can't be found. You will need contact your hosting provider and ask them to turn that on for you.
If this solution does not work, contact me.
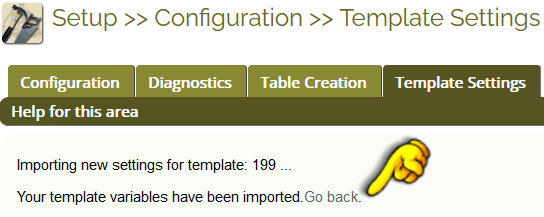
6. Click on "Go back" and you will be returned to the Template Settings page. There you can use the dropdown to choose your new template.
You'll need to take out box-sizing:border-box; in your css file and then ftp the style.css up to your server.
img {border: none; box-sizing: border-box;}
If you do not know how to do this, let me know and I can do it for you.

You can use any major credit card
through PayPal at checkout.
Thanks,
Marsha
Marsha-owner
Monday-Friday: 9am - 6pm
Saturday: 10am - 5pm
Sunday: Noon - 5pm
Eastern Time Zone