

If you have one of my templates, you will have everything you need in the css file. You will need to ftp your image to the template's img folder. If you are using template 19 or template 21, you also have what you need in your css file.
Add your image call inside <figure> brackets. The <figure> will need to be floated left or right, although you could center it.
You also need the caption text to be added in <figcaption> brackets.
The <figure> cannot be added to a paragraph, so on my templates, since the paragraph is hard-coded in the template you would need to close it by adding </p> right before the <figure> tag.
1. Add this to your input box: <figure><figcaption></figcaption></figure> (remember to close the paragraph if you are adding the image to be beginning of the input box.
2. Add the code that will float your image to the left or right: <figure class="img-left">
3. Next, you will need your image call. In TNG, you have to put the template folder as well as the specific template number in the code. For this image, I am using template 274. You will have to add your own template number. <img src="templates/template274/img/grandmother.jpg">
4. Now it's time to add the caption. <figcaption>This is my
caption.</figcaption>. Enter the text between the opening and closing
<figcaption> brackets. Now the text is there, but it needs to be styled.
If you have one of my templates, the style for the captions is already
in the css file. It will reduce the size of the text and make the text italic. All
you do is add the class of "captions" to style it. The code will look
like this:
<figcaption class="captions">
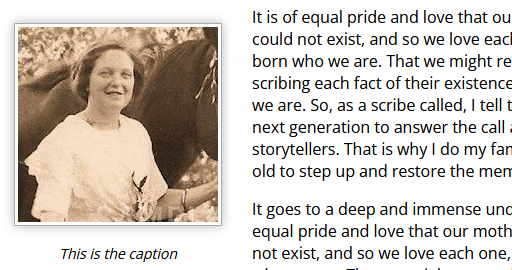
<figure class="img-left"><img src="templates/template274/img/grandmother.jpg"><figcaption class="captions">This is the caption</figcaption></figure>
This is what it looks like on the Template Settings page:

Notice that the paragraph </p> is closed before the <figure> is added. After the image, the paragraph <p> is reopened.
This is what the page looks like live:
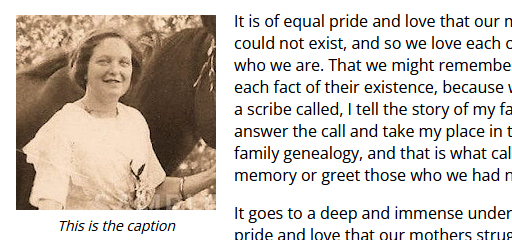
Because I have the image floated to the left, the text wraps accordingly. Without the float, the text would all be under the image.
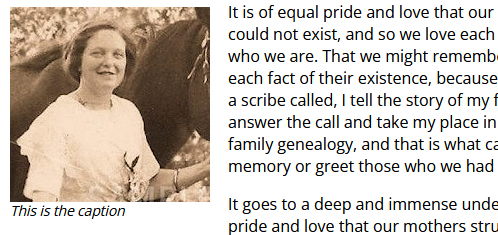
You can also style the image, by choosing one of my image styles. See the examples HERE and scroll down to the "Image Coding". I am going to add a frame and shadow around the above image. To do that, I need to add a class to the image code.

<figure class="img-left"><img class="img-frame" src="templates/template274/img/grandmother.jpg"><figcaption class="captions">This is the caption</figcaption></figure>
If you do not have one of my templates, you'll need to add a couple of styles to your mytngstyle.css if they are not already included in your templatestyle.css. If you are using templates 19 or 21, you have the coding you need and do not need to do anything with the css. Copy and paste the codes below into your template's mytngstyle.css file. You can change any of these settings: left to right and font size.
header, figure, figcaption, footer, nav, article, section, aside
{display: block;}
.img-left {float: left;}
.small {font-size:
85%;}
1. Make the text italics by adding <em></em> around the text. So now your
code looks like this:
<figcaption><em>This is my
caption.</em></figcaption>
2. If the text is too large, change the size by adding a style class
in your css file and then adding it to the <figcaption>
The style
looks like this: <figcaption class="small"> You may have to make a new
class of small (which could also include the italics) in your css file.
<figure class="img-left"><img src="templates/template274/img/grandmother.jpg"><figcaption class="small"><em>This is the caption</em></figcaption></figure>
You need to upload your images to your img folder in the template. If you added anything to the css file, you need to upload that into your template's css folder.

You can use any major credit card
through PayPal at checkout.
Marsha-owner
Monday-Friday: 9am - 6pm
Saturday: 10am - 5pm
Sunday: Noon - 5pm
Eastern Time Zone